It's I loved the Netflix series "Chef's Table: Pizza." The episode with Franco Pepe, from north of Naples, was outstanding.
What stood out was his Margherita Sbagliato, or "mistaken margherita" -- appropriate for me since I host a podcast and have written a book about making mistakes and learning from them.
I decided to make the Margherita Sbagliato the other day, using my Ooni Koda 16 oven that's running on natural gas. I'm not at our home that has the wood-burning oven, but I'll repeat the experiment there.
I'll share some photos, a little bit about the process, and the reactions to this pizza from my family and guests.
I followed the recipe that's found on this page, from "Young and Foodish."
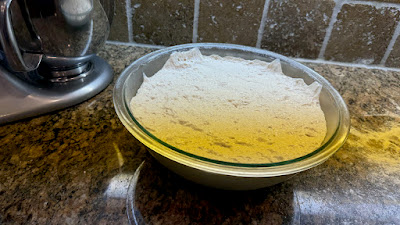
I made my dough pretty much as usual. I made my usual sauce, built on the foundation of a glass jar of Italian tomato puree.
The one special preparation was the basil oil sauce (the green that's seen in the Franco Pepe video).
I doubled the recipe, using 20 g of fresh basil, one ice cube, and 300 g of extra virgin olive oil. This turned out to be a much thinner liquid than the one in the video above. For future experiments, I'd use less oil to thicken it into more of a pesto consistency.
I stretched the dough and covered it with torn slices of mozzarella (other than the edge that's left uncovered for the cornicione (edge) of the pizza. And I drizzled some EVOO on top.


I didn't have a stopwatch running, but here it is after about a minute:


I could have had the oven running a little hotter. I say that because of the browning that occurred instead of doing the leopard spotting thing.

And here's the second one (the one pictured in the oven above). I liked Franco's direction to "play with the pizza" so there's a bit of a tic-tac-toe theme I guess:

It's a fun take on the classic Margherita. There's no evidence that it was born from a true "mistake" -- but it looks like one.
Instead of the base of sauce, it's a base of cheese. A true Margherita pizza is made with a more austere amount of cheese compared to a New York pizza that's covered in it over the sauce.
The basil oil had a great flavor. And the addition of room temperature sauce made it seem more concentrated in flavor. And you get the satisfying cheese bread texture and taste.
I would definitely do this again. It's a bit of a party trick. Perhaps a pizza people haven't had before. I could pretend like I made a mistake, LOL.
It was a hit. My mother-in-law said it's her new favorite pizza... enjoying it even more than my traditional Margherita!
Wood-Oven Versions