Monday, December 25, 2006

Where the Oven Dome was Made


Still waiting on the stone to arrive for my oven, but here is the link to the Forno Bravo forum page where they talk about where my oven dome was made, in Italy.

Monday, December 18, 2006

Still Waiting on Stone

Still waiting.... my contractors have found a good match with the stone and they are waiting to get it from a quarry in west Texas somewhere. It should arrive early this week, so hopefully there will be some progress and new pictures later this week.

I was hoping to have the oven done by Thanksgiving, originally. Then, I was hoping to have it for Christmas... guess that's not necessarily going to happen. It's still possible it can be done and I can start doing my daily "curing" fires. I'll be home Dec 21 through Jan 2, so there will be some nice time at home to get the oven started off with increasingly larger fires (necessary to drive the moisture out of the oven and materials) before I can make a pizza.

Thursday, December 14, 2006

Finding the Right Stone

No progress today. My new contractors are looking for stone that matches my grill island built by the original contractors, who did a good job with the grill, unlike their failed attempt with the pizza oven.

I appreciate the effort of the new contractors to find just the right stone. Once they find the stone, they'll work on the veneer around the cinder block substructure and work up to building a chimney and housing around the oven dome.

Oven is on the Hearth

Progress has been a little slow, but it's coming along. Sorry for the dark photos, but I was out of town (and left again), so couldn't get daytime shots.


The insulation layer (SuperIsol) is in place, glued to the concrete hearth with refractory caulk. The oven floor was set in place on top of a sand layer, which was used to help level the four floor pieces. The dome was set on top (a 600 pound lift). The front piece of the floor is a bit high because the installers need to remove a metal bar that goes across the lower front entry of the oven (added for stability during shipping and movement, no doubt.

The oven is tarped over because the insulating material is pretty water absorbent, so we need to keep that's dry (it's not raining, but just in case).

Sunday, December 10, 2006

How to Split Logs

Linked Article

One thing I'm having to learn before my oven done is managing the wood to be able to build a fire. I'm no boy scout, so I have little experience with axes and the like.

I have some "practice wood" and I bought an axe at Lowe's. The axe blade keeps getting stuck in the log (as the linked article implies), so maybe I also need a "maul" for splitting those logs.

At least I'll get exercise chopping wood, eh?

I still have to find a good source for my pizza oven wood. The experts say Apple wood is good for wood burning ovens.

Here's a thread on the Forno Bravo message board on splitting logs.

Wish me luck not chopping my foot accidentally. I should find some steel toed shoes, eh?

Rain Delay Sunday


Well, we have rain and sprinkles here in the Dallas area. The concrete hearth isn't quite dry or cured yet. So, the crew is going to hold off until Monday. I'll post more updates this week.

Saturday, December 9, 2006

Framing and Pouring the Hearth


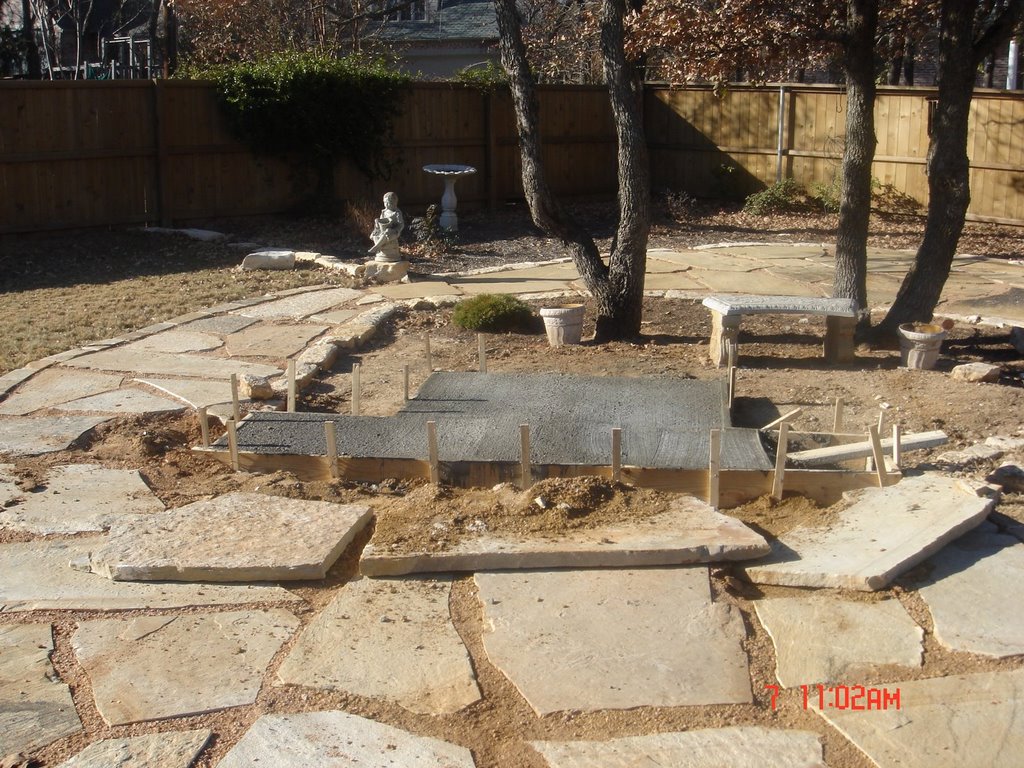
So Friday was cinder block day. Saturday was for framing and pouring the concrete hearth that is structural support for the oven. Here is the fully wood framed oven stand.


Here is some of the initial concrete pouring. Note the rebar grid that is set inside the concrete hearth layer for additional strength.


The crew is laying the large rebar frame into the concrete.


That looks beautiful after the pour is done. That's my grill island in the background. This will cure and set until tomorrow, when we'll put the SuperIsol oven insulation on top, then the oven floor and dome. That dome is 600 lbs, we'll have a big crew to lift that up on place.

Friday, December 8, 2006

Cinder Blocks


You can see the cinder block structure taking shape. The blocks are mortared together. A stone veneer will eventually go around the cinder blocks. The black patio heater is just out there temporarily for the work crew, of course.


The cinder blocks are filled with concrete, then eventually have rebar run through for additional support.


Here is the completed cinder block structure for the oven (middle) and counter space (on each edge). Note the angle iron going across. That space underneath is for firewood storage for the oven.

Thursday, December 7, 2006

Pouring the Foundation

So why were we pouring foundation again?? To make up for the mistakes of the original contractor.


Here are photos of the foundation. To the right wing side, the contractor ran out of concrete mix, so they finished that part of the foundation the next day. The flagstone patio was built by the first contractor (when they messed up the first attempt at the oven). The second contractor had to dig out to pour the foundation a little further back (front to back) and they poured it higher to match up with the patio level.

In the background of the second photo is the grill island that the first contractor built (they did a good job with that).


The completed foundation with the oven dome on top to help check dimensions. The dome will actually be further forward when it's actually installed on top of the hearth.

Monday, December 4, 2006

Most recent visit to Pizzeria Bianco

From my main blog website, a posting I did there.

My wife and I used to be real regulars there, when we lived in Phoenix (until August 2005). We really miss Biancos since we moved to Dallas.

More reminiscing about Biancos later, but this time, I talked to Chris Bianco briefly and told him we're putting in an oven.

His advice:
Keep burning 'em until you get 'em right!
Related Posts with Thumbnails